My sister gave me a Cuttlebug for my birthday last year and I would say it is my FAVOURITE, MOST USEFUL crafting tool. So I guess I will start with a review on my Cuttlebug. I will focus more on the different cutting plates I use with it since there are already a lot of reviews on the machine itself.
I use my cuttlebug with the following types of die:
- Papertrey Ink Dies (sandwich: A+B'+die face down +C)
- Tim Holtz Alteration Dies (sandwich: B+die face down+B)
- Quickutz Cookie Cutter Dies (A+B'+die face down+C)
- Spellbinders Nestabilities (A+B'+die face down+C)
- Joy Crafts Die (A+B'+die face down+C)
The cuttlebug cutting plates are really quite expensive for me because I need to pay an additional 40% for shipping and handling. So when I just received my cuttlebug, I used some self healing mats for all my die cutting. It was not very good at all. I had to add a lot of shims just to cut out 1 piece of cardstock and the cut is not very clean.
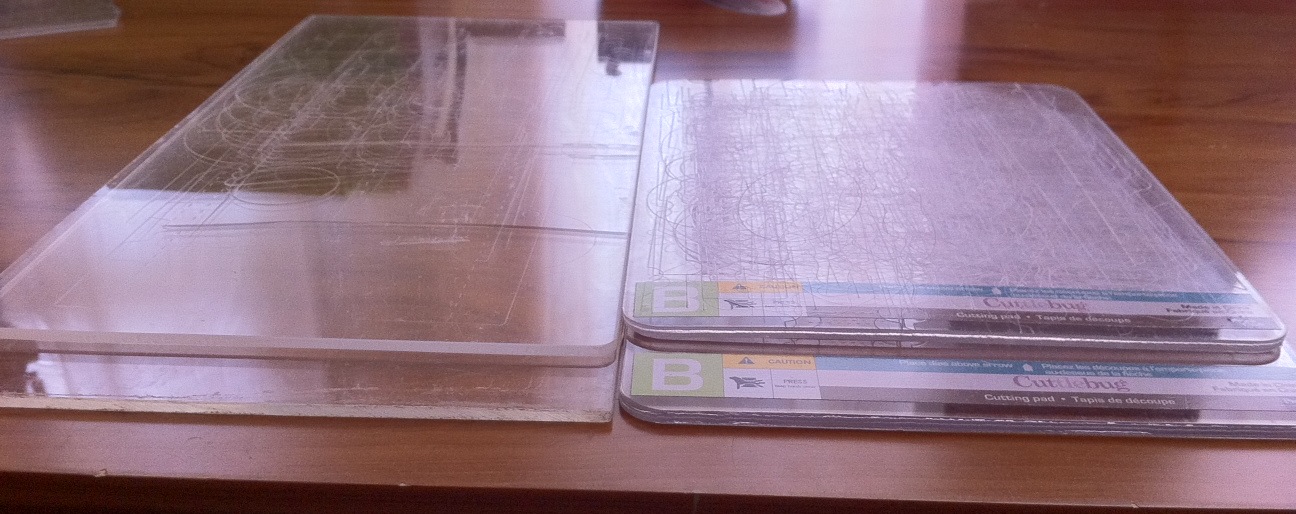
So, as a substitute, I use some acrylic sheets. You should be able to find them for sale in your local signage companies. Mine were left over scraps from my brother's DIY shelf project. I cut them to size and smoothed the edges. This plate is what I referred to as B' in the list above.
These B' plates works really well with the wafer thin dies, but they break when I use them with the Tim Holtz Alteration Die. I guess it would be the same with the Sizzix Bigz die. Therefore, I can only use my original B plate with my Tim Holtz Alteration die. I will continue searching for a suitable replacement for the B plates for use with the Sizzix Bigz / Tim Holtz Alteration dies. Maybe I'll try the self healing mat with these dies.
The good thing about the Tim Holtz die is that you can cut more than 1 cardstock at a time. My sister in law was preparing some tags for her kindergarten graduation and we cut out more than 100 pieces of tags in just a matter of minutes. As for the paper trey ink dies and other cookie cutter type of dies, I find that they can only cut up to 2 pieces of cardstock at a time.
I have die cut foam, felt, cardstock and chipboard and the only material that didn't come out nicely every time is the felt. Perhaps the felt I bought (from Red Dot, Plaza Singapura) is too thick. I have to add shims and run them through twice to make sure I get a clean cut.
Here are some pictures of my original B plates and my B' plates.
 |
| Original B Plate |
 |
| B' Plates |
 |
| B' Plates and Cuttlebug B Plates |
That's all I have to share for now. Have a good day!